
Sometimes all you need is a quick treat that feels indulgent yet fuels your body. My first encounter with No-Bake Peanut Butter Oat Cups happened almost by accident—late at night, craving something sweet but not wanting to go overboard. A few simple ingredients came together, and suddenly my kitchen was filled with the comforting aroma of peanut butter and oats. Even before they had set, I couldn’t resist sneaking a taste straight from the spoon. That’s when I knew: this recipe was here to stay.
Flavor That Wins Everyone Over
Why They Taste So Good
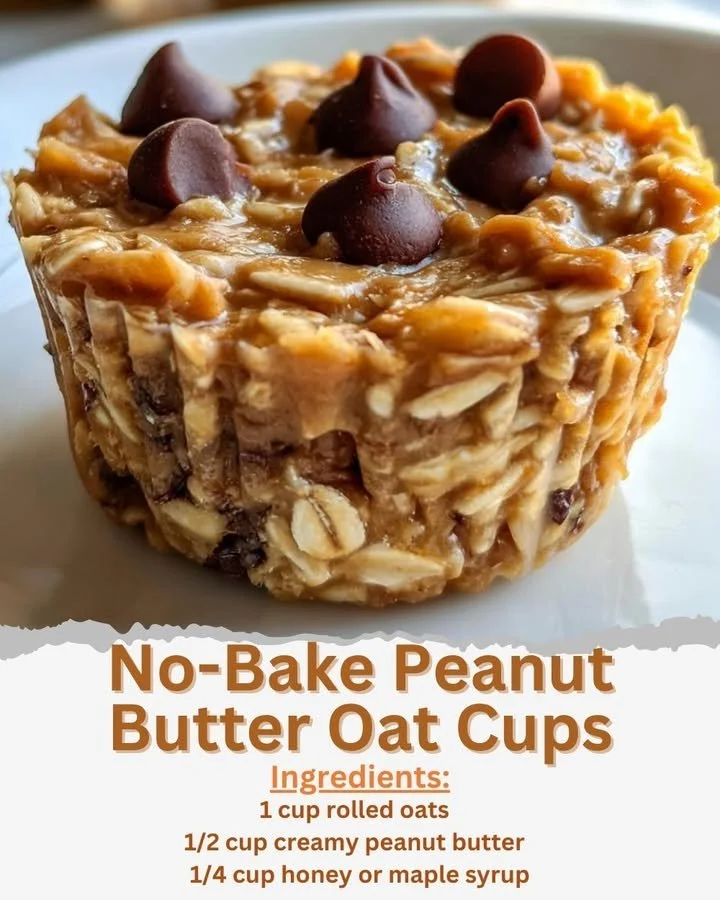
The star of the show is creamy peanut butter, paired with the nutty chew of rolled oats. Honey or maple syrup adds a natural sweetness, while a tiny pinch of sea salt balances everything perfectly. The base is simple, but you can play around: add dark chocolate chips for richness, dried fruit for a tangy note, or a dash of cinnamon for warmth. Every variation feels like a new discovery.
A Family Favorite for Good Reason
These cups manage to please almost everyone—kids, adults, picky eaters, and even friends with dietary restrictions (just swap in nut-free butter or gluten-free oats). They’re perfect for school lunch boxes, after-workout snacks, or even a casual dessert. And because they’re no-bake, you can whip them up without turning on the oven—ideal for hot days or quick cravings.
What You’ll Need
- 1 cup rolled oats – hearty and full of fiber
- ½ cup creamy peanut butter – almond or sunflower seed butter works too
- ¼ cup honey or maple syrup – or agave for a vegan option
- 1 tsp vanilla extract – for depth of flavor
- Pinch of sea salt – enhances the sweetness
- Optional add-ins: chocolate chips, nuts, seeds, dried fruit
How to Make Them
- Combine ingredients – In a mixing bowl, stir together oats, peanut butter, honey, vanilla, and salt until sticky and well blended.
- Mix in extras – Fold in chocolate chips or other toppings if you like.
- Shape the cups – Press the mixture firmly into muffin liners or a greased muffin tin.
- Chill – Refrigerate for at least 30 minutes until firm.
- Enjoy! – Pop them out and store in an airtight container in the fridge for up to a week.
Tips for Success
- Press firmly so the cups hold their shape.
- Don’t overload with mix-ins or they may crumble.
- Be patient with chilling—it makes them much easier to handle.
Why You’ll Love Them
- Nutritious: fiber from oats, protein and healthy fats from peanut butter.
- Convenient: no baking, no fuss, ready in under 10 minutes (plus chilling).
- Versatile: works as a snack, quick breakfast with yogurt, or even a light dessert with fruit and chocolate drizzle.
Storing & Freezing
- Keep in the fridge up to 7 days.
- For longer storage, freeze in a sealed container and thaw in the fridge before eating.
Final Thoughts
These No-Bake Peanut Butter Oat Cups prove that simple ingredients can create something truly special. They’re cozy, satisfying, and endlessly customizable. Whether you’re looking for a healthy snack or a sweet little treat to share, this recipe will quickly earn a permanent spot in your kitchen.
No-Bake Peanut Butter Oat Cups
Ingredients
Main Ingredients
- 1 cup rolled oats Offers a hearty base with fiber-rich goodness.
- ½ cup creamy peanut butter Provides rich flavor and creamy texture; swap with almond butter if preferred.
- ¼ cup honey or maple syrup A natural sweetener; agave syrup works too.
- 1 teaspoon vanilla extract Adds depth of flavor.
- 1 pinch sea salt Enhances overall sweetness.
Optional Mix-Ins
- chocolate chips For added sweetness and richness.
- dried fruits For additional texture and flavor.
- nuts or seeds For added crunch.
Instructions
Preparation
- Gather your ingredients and ensure they are all on hand.
- In a large mixing bowl, combine the rolled oats and peanut butter. Stir in honey (or maple syrup), vanilla extract, and a pinch of salt until well combined.
- If desired, fold in chocolate chips, chopped nuts, or dried fruits.
- Line a muffin tin with liners or lightly grease it. Spoon the mixture into each muffin cup, pressing down firmly to create a compact shape.
- Place the muffin tin in the fridge for at least 30 minutes to firm up the cups.
- Once set, gently pop the cups out of the tin, and they’re ready to eat!
