
Pressure canned butter is a creative and practical way to preserve butter for long-term use. By using a pressure canner, you can safely store butter without the need for refrigeration. This method not only extends the shelf life of butter but also provides a convenient option for those who want to have butter ready to use anytime.
Why Make This Recipe
Making pressure canned butter is a great idea for several reasons. First, it allows you to buy butter in bulk and store it for later use. Second, it helps you save time in the kitchen since you will have butter readily available. Last but not least, it gives you the satisfaction of preserving food at home.
How to Make Pressure Canned Butter
Ingredients
- 16 wide mouth pint-sized mason jars
- 16 new canning lids & screw bands
- Vinegar in a small bowl
- Clean, dry cloth
- Jar lifter
- Stock pot
- Funnel
- Tongs
- 7 lbs salted butter
- 7 lbs unsalted butter
Directions
- Wash the jars and lids thoroughly.
- Simmer the lids in a saucepan to keep them hot.
- Place your jars in the oven at 175 degrees to keep them warm.
- Wash all your tools, and prepare a bowl with vinegar and a clean, dry cloth.
- Prepare your pressure canner according to the user’s manual.
- Remove the wrappers from the butter and begin adding the blocks to a stock pot. Keep the heat low and stir frequently to prevent burning.
- Once the butter is fully melted and hot, prepare to ladle it into the jars.
- Take out 2 jars from the oven at a time, and fill each jar to 1 inch from the top. Stir well each time you scoop to keep everything mixed.
- Continue filling the jars until you run out of butter or fill all the jars.
- If desired, scoop off any foam from the top. Top off the jars with more butter to ensure they have 1 inch of headspace.
- Wipe the rims of the jars with vinegar to keep them clean before placing the lids on.
- Place the hot lids on the jars, letting any water drip off first.
- Apply the screw bands, tightening them fingertip tight.
- Place the jars into the pressure canner using the jar lifter (the butter is hot!).
- If your canner allows stacking, place a rack on top of the first layer of jars and add a second layer.
- Attach the lid of the canner, increase the heat, and let it vent a steady stream of steam for 10 minutes (refer to your user manual for specifics).
- Pressure can the pints for 75 minutes.
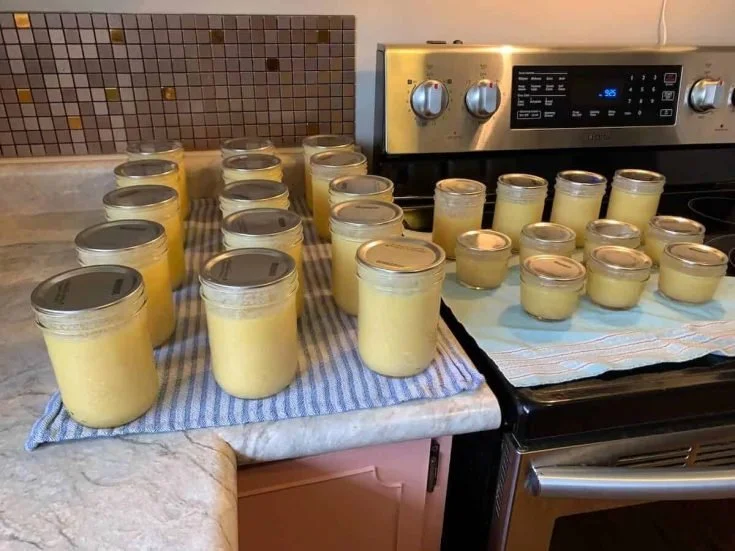
- Remove the jars from the canner with the jar lifter and set them on a towel to cool until all lids have sealed and the jars are cool to touch.
- Shake each jar every 15 minutes until the butter solidifies enough that you cannot shake them anymore (this takes about 2 hours).
- Let the jars sit overnight to set completely.
- The next day, remove the rings, wash the jars, label them, and store them.
How to Serve Pressure Canned Butter
Use your pressure canned butter just like regular butter! You can spread it on bread, use it for cooking, or melt it for various recipes. It makes cooking and baking convenient since it’s always ready for you.
How to Store Pressure Canned Butter
Store your pressure canned butter in a cool, dark place, like a pantry or cupboard. Properly sealed jars can last for up to a year or more. Once opened, store any leftover butter in the refrigerator.
Tips to Make Pressure Canned Butter
- Use high-quality butter for the best flavor and results.
- Always check your jars for proper sealing after cooling.
- Experiment with different types of butter (like flavored butters) for variety.
Variation
You can try using flavored butter such as herb-infused or garlic butter. Just melt them down the same way and follow the canning instructions.
FAQs
1. Is pressure canning butter safe?
Yes! Pressure canning butter is safe when done correctly, following proper guidelines.
2. How long can pressure canned butter last?
When stored properly, pressure canned butter can last for up to a year or longer.
3. Can I use different types of fats?
Yes, other fats such as margarine or ghee can also be pressure canned, following the same steps.
Pressure canned butter is an easy way to ensure you always have this kitchen staple on hand. Happy canning!
