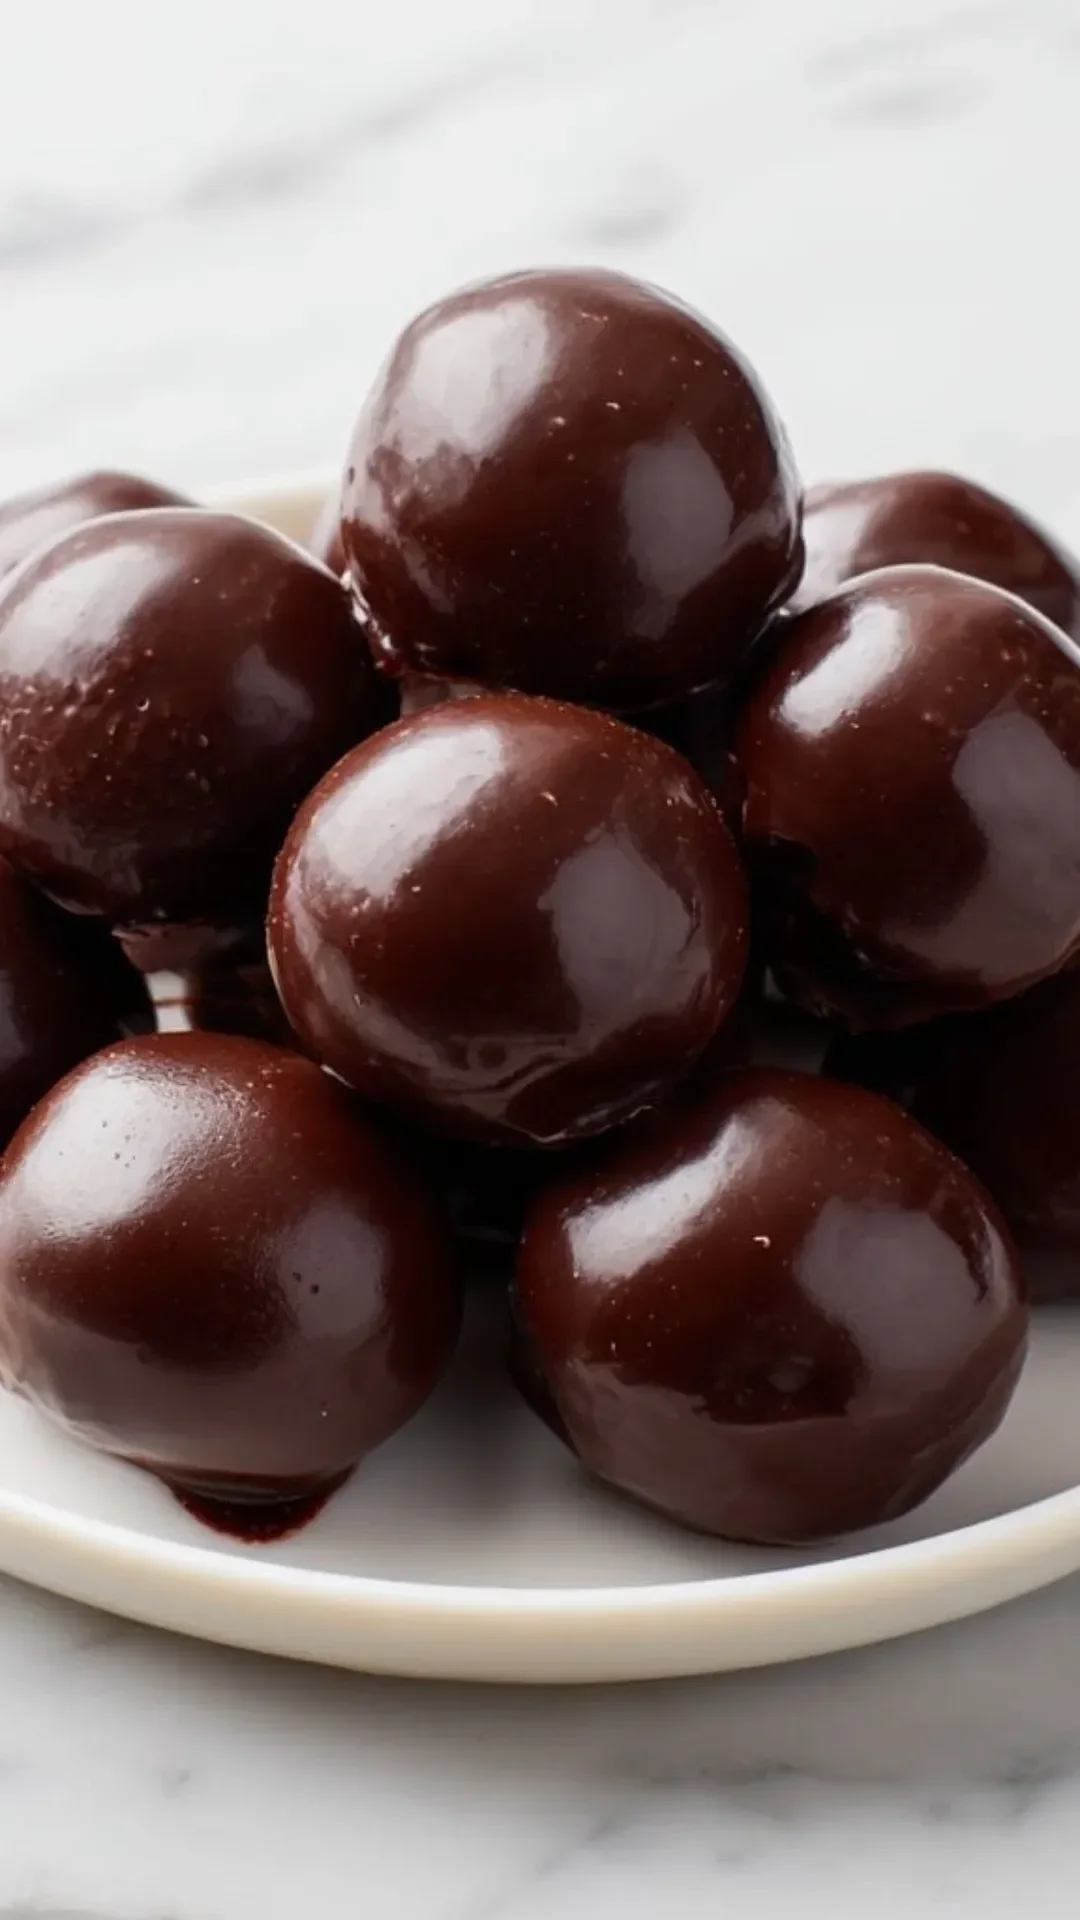
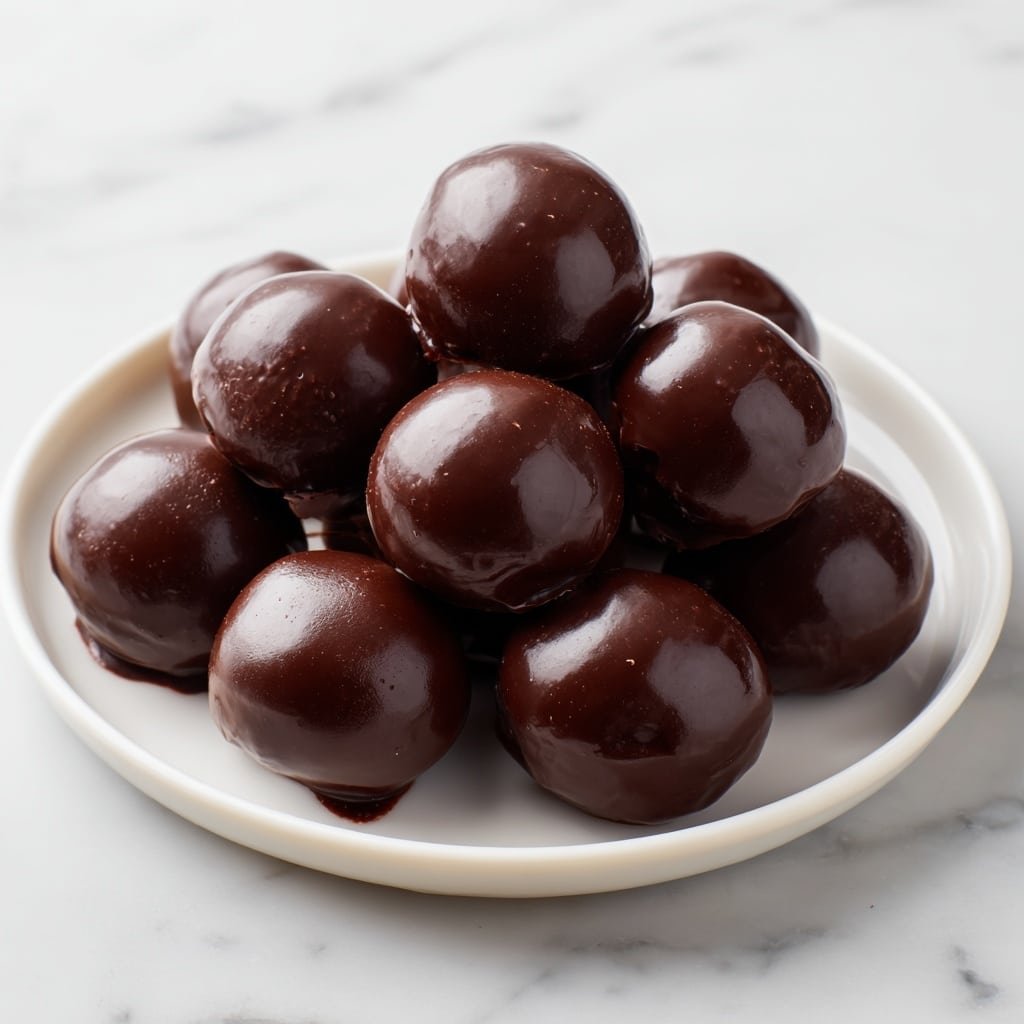
Old Fashioned Peanut Butter Balls Recipe
Discover the delightful experience of making Old Fashioned Peanut Butter Balls Recipe! This classic treat captures the essence of childhood nostalgia while being incredibly easy to whip up. Perfect for busy days, these peanut butter balls bring comfort and joy to both young and old alike. With just a few simple ingredients, you can create a tasty snack that satisfies everyone’s sweet tooth.
Recipe Information
Prep Time: 15 minutes
Cook Time: 0 minutes
Total Time: 45 minutes
Servings: 24
Difficulty Level: Easy
Nutrition Information (per serving)
Calories: 120
Protein: 3g
Carbohydrates: 14g
Fat: 6g
Fiber: 1g
Sugar: 6g
Sodium: 50mg
Why Make Old Fashioned Peanut Butter Balls Recipe
Old Fashioned Peanut Butter Balls Recipe combines the rich flavors of peanut butter and chocolate, making it an irresistible treat. This recipe is not only a delightful indulgence but also offers the nourishment of wholesome ingredients. The combination of creamy peanut butter and Rice Krispies results in a crunchy yet smooth texture everyone loves. Plus, they are incredibly versatile, allowing for various customization options, making them an excellent choice for parties or casual snacks.
How to Make Old Fashioned Peanut Butter Balls Recipe Step by Step
Ingredients
- 1 cup creamy peanut butter
- 3 tablespoons salted butter, melted
- 2 cups Rice Krispies cereal
- 1 cup powdered sugar
- 12 ounces melting chocolate (wafers or bars)
Directions
In a large mixing bowl, blend the creamy peanut butter and melted salted butter until smooth and well combined using a handheld mixer or a sturdy rubber spatula. The mixture should be creamy and thoroughly mixed. Gently stir in the Rice Krispies cereal until evenly coated with the peanut butter mixture. Then add the powdered sugar and mix thoroughly to form a firm, cohesive mixture. Line a cookie sheet with parchment or wax paper. Using a tablespoon, scoop out portions of the peanut butter mixture. Lightly grease your hands and roll each portion into a ball about the size of a walnut. Place the balls onto the lined cookie sheet and refrigerate for at least 30 minutes until firm. Melt the chocolate in a microwave-safe bowl in 30-second intervals, stirring between each interval to prevent burning, until completely smooth. Dip each peanut butter ball into the melted chocolate to fully coat it. Place the coated balls back onto the lined baking sheet. Refrigerate the chocolate-coated peanut butter balls for 15-20 minutes or until the chocolate is fully set and firm. Once set, they are ready to serve and enjoy!
How to Serve Old Fashioned Peanut Butter Balls Recipe
These peanut butter balls can be served as a delightful dessert after dinner or as a tasty snack throughout the day. For an extra special touch, pair them with a glass of cold milk or a cup of your favorite coffee. You could also serve them alongside fresh fruit or a light salad for a satisfying meal.
How to Store Old Fashioned Peanut Butter Balls Recipe
To store your Old Fashioned Peanut Butter Balls, keep them in an airtight container in the refrigerator. They will stay fresh for up to a week. If you’d like to make them ahead of time, you can also freeze them for up to three months. Just ensure they are well-wrapped to prevent freezer burn. When you’re ready to enjoy, simply let them thaw in the refrigerator for a few hours.
Expert Tips for Cooking Old Fashioned Peanut Butter Balls Recipe
- Use high-quality chocolate for coating to enhance flavor.
- Experiment with crunchy peanut butter for added texture.
- Make sure to roll the balls tightly to prevent them from falling apart.
- For a healthier option, consider using dark chocolate.
- Adjust the sweetness by adding more or less powdered sugar to suit your taste.
Delicious Variations of Old Fashioned Peanut Butter Balls Recipe
- Add a pinch of sea salt to the mixture for a sweet and salty flavor.
- Incorporate crushed nuts, such as almonds or walnuts, into the peanut butter mixture for extra crunch.
- For a citrus twist, add a bit of orange zest to the peanut butter mixture before rolling into balls.
Indulge in the deliciousness of Old Fashioned Peanut Butter Balls Recipe, and experience the perfect blend of flavors and textures that will please both your palate and your heart. They’re easy to make, fun to customize, and a true testament to the nostalgia of homemade treats!

Old Fashioned Peanut Butter Balls
Ingredients
Method
- In a large mixing bowl, blend the creamy peanut butter and melted salted butter until smooth and well combined using a handheld mixer or a sturdy rubber spatula.
- Gently stir in the Rice Krispies cereal until evenly coated with the peanut butter mixture.
- Add the powdered sugar and mix thoroughly to form a firm, cohesive mixture.
- Line a cookie sheet with parchment or wax paper.
- Using a tablespoon, scoop out portions of the peanut butter mixture and roll them into balls about the size of a walnut.
- Place the balls onto the lined cookie sheet and refrigerate for at least 30 minutes until firm.
- Melt the chocolate in a microwave-safe bowl in 30-second intervals, stirring between each interval until completely smooth.
- Dip each peanut butter ball into the melted chocolate to fully coat it.
- Place the coated balls back onto the lined baking sheet and refrigerate for 15-20 minutes or until the chocolate is set.