
No Bake Homemade Crunch Bars: A Sweetly Satisfying Adventure in My Kitchen
There’s a warmth that fills my heart when I think about the first time I made No Bake Homemade Crunch Bars. I can still picture my tiny Chicago kitchen, cluttered with mixing bowls and melted chocolate smears on the countertop. It was a lazy afternoon, and I wanted something sweet without the fuss of baking. As I combined crispy rice cereal with creamy peanut butter and rich chocolate, I felt a sense of joy bubbling inside me. The smell wafting through the air was intoxicating, and when I finally tasted that first bar, it was like a sweet celebration of everything I loved about food — simple, comforting, and utterly delightful.
Flavor and Popularity
The Unique Flavor Profile of No Bake Homemade Crunch Bars
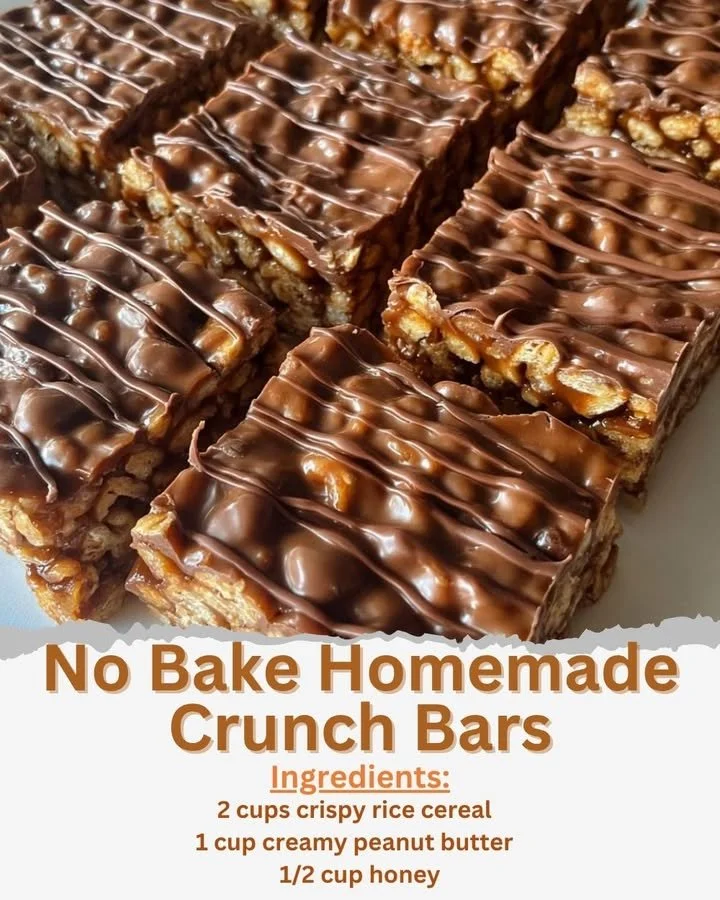
No Bake Homemade Crunch Bars present a symphony of flavors and textures that dance delightfully on the palate. The rich, velvety chocolate coating brings a luxurious sweetness, perfectly complemented by the nutty undertones of peanut butter. The addition of crispy rice cereal introduces an irresistible crunch, creating a delightful contrast to the smooth chocolate and creamy peanut butter.
These bars have a slightly salty edge from the peanut butter, which beautifully balances the sweetness of the chocolate, making every bite an experience worth savoring. Each component plays a part in creating a complex yet comforting flavor profile that appeals to both children and adults. The sweet crunchiness, enhanced by a pinch of sea salt, creates a truly satisfying treat.
Why This Recipe Is a Family Favorite and Crowd-Pleaser
What makes No Bake Homemade Crunch Bars stand out as a family favorite is their simplicity and adaptability. They’re perfectly suited for spontaneous gatherings or cherished family traditions. I remember making them for a last-minute playdate with friends, and the joy on the kids’ faces as they savored each bite was priceless. Not only do these bars provide a nostalgic taste, but they also encourage creativity; you can easily customize them with different mix-ins, like nuts, dried fruit, or even a sprinkle of sea salt to elevate the flavor.
Their no-bake nature also makes them a win for busy households. With minimal effort and time, you can whip up a batch that everyone will rave about. Whether it’s for an after-school snack, a quick dessert, or a sweet surprise for a loved one, No Bake Homemade Crunch Bars deliver on every front, asserting their position as a must-have recipe in every home.
Ingredients and Preparation
Essential Ingredients and Possible Substitutions
When it comes to mastering No Bake Homemade Crunch Bars, starting with the right ingredients is key. Here’s what you’ll need:
- Crispy Rice Cereal: This forms the base of your bars. If you don’t have rice cereal, you can substitute it with corn flakes or even granola for a different texture.
- Peanut Butter: Smooth or crunchy, both work beautifully. For nut-free options, use sunflower seed butter or tahini.
- Chocolate Chips: Semi-sweet chocolate is the traditional choice, but feel free to experiment with dark chocolate, milk chocolate, or even white chocolate.
- Butter: Adds richness. You can use coconut oil for a dairy-free option, though it may slightly change the texture.
Step-by-Step Recipe Instructions with Tips
Creating your own No Bake Homemade Crunch Bars is a breeze. Here’s a simple step-by-step guide to ensure success:
Prepare Your Pan: Line an 8×8 inch pan with parchment paper for easy removal. Lightly grease it with cooking spray to further ensure nothing sticks.
Melt the Ingredients: In a medium saucepan over low heat, combine 1 cup of peanut butter and 1/2 cup of butter. Stir until melted and smooth, then remove from heat.
Mix the Sweetness: Add 1 cup of chocolate chips to the melted peanut butter and butter mixture, stirring until fully melted and combined. If you like a richer chocolate flavor, consider adding an additional 1/2 cup of chocolate chips on top later.
Combine with Cereal: Pour in 4 cups of crispy rice cereal, stirring gently to coat all the cereal with the chocolate-peanut butter mixture. Be careful not to crush the cereal!
Press into the Pan: Using a spatula, evenly press the mixture into the prepared pan. To make this easier, dampen your hands or spatula with a little water before pressing down.
Chill: Refrigerate for at least 2 hours, or until firm. Patience here will reward you with perfectly set bars!
Cut and Enjoy: Once set, lift the bars out of the pan using the parchment paper. Cut into squares or rectangles, depending on your preference.
- Tip: Store the bars in an airtight container in the fridge for up to a week. They can be enjoyed cold, or take them out for about 10 minutes before serving for a softer texture.
Cooking Techniques and Tips
How to Cook No Bake Homemade Crunch Bars Perfectly
Cooking these bars may not seem conventional, as they require minimal cooking over low heat. Here are a few techniques to keep in mind:
- Low and Slow: When melting the peanut butter and butter, always do it over low heat to prevent burning. If you see bubbling, lower the heat even more.
- Gentle Mixing: When incorporating the cereal, be gentle. You want to maintain that crunchy texture without crushing the rice.
Common Mistakes to Avoid
Even simple recipes can have their pitfalls. Here’s how to avoid them:
- Using Cold Ingredients: Ensure your butter and peanut butter are at room temperature for easy mixing. If they’re too cold, it will be difficult to combine them smoothly.
- Overheating Chocolate: Take your time; melted chocolate should never be too hot, as it can seize up. Always remove from heat once it’s melted and glossy to maintain a silky texture.
Health Benefits and Serving Suggestions
Nutritional Value of No Bake Homemade Crunch Bars
These bars not only satisfy sweet cravings but come with some nutritional benefits too. Let’s break it down:
- Protein: The peanut butter packs a protein punch, making these bars great for a post-workout snack.
- Fiber: The crispy rice provides a touch of fiber, especially if you opt for whole grain varieties.
- Energy Boost: They offer a quick source of energy, perfect for a mid-afternoon pick-me-up.
Best Ways to Serve and Pair This Dish
No Bake Homemade Crunch Bars are incredibly versatile. Here are a few serving suggestions:
- As Is: For the simplest enjoyment, just cut and serve them as they are.
- With a Twist: Drizzle some melted chocolate or caramel on top for an extra treat.
- Serve with Fruit: Pair them with fresh fruit, such as sliced strawberries or banana, for a complete snack that balances sweetness with freshness.
FAQ Section
What type of mushrooms are best for No Bake Homemade Crunch Bars?
While mushrooms aren’t an ingredient in No Bake Homemade Crunch Bars, if you’re exploring savory bars or different variations, opting for shiitake or portobello could add depth to a savory recipe.
Can I use dried garlic instead of fresh?
This recipe doesn’t traditionally include garlic, but if you venture into savory snacks that borrow flavor profiles from other cuisines, dried garlic could be considered in appropriate circumstances, just be mindful of the quantity.
How do I store leftover No Bake Homemade Crunch Bars?
Store leftover bars in an airtight container or wrap them individually in plastic wrap. Keep them in the refrigerator, and enjoy them within a week.
Can I freeze No Bake Homemade Crunch Bars?
Yes! You can freeze these bars. Wrap them tightly in plastic wrap and then place them in an airtight container. They should be good for about 2-3 months. Just let them thaw for a bit before enjoying, or eat them cold for a refreshing treat.
Conclusion
If you’re like me, there’s something comforting about having a stash of No Bake Homemade Crunch Bars ready to enjoy at any time. They’re not just a recipe; they’re a reminder that the kitchen can be a place of joy and creativity. Trust me, you’ll want to make this again and again, sharing them with friends and family or simply indulging in a sweet moment of self-care. So grab those ingredients and dive in — your perfect no-bake treat awaits!
