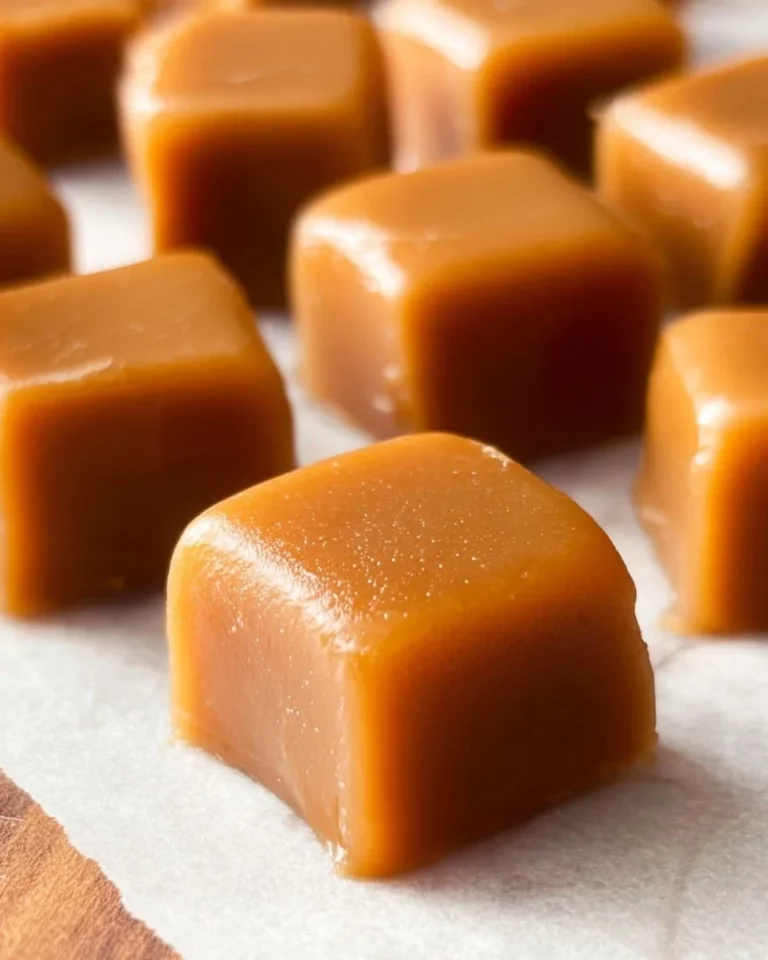

I make this every Christmas and literally have to make it in the dead of the night and then hide it from my family if I want any of it to make it out of the house! Hahaha. Self control just doesn’t exist.
The holiday season is a time for family, joy, and, of course, indulgent treats! One recipe that has found a cherished spot in my Christmas traditions is a delightful concoction that I prepare when the rest of the world is fast asleep. The smell wafting from the kitchen is enough to wake anyone, but there’s a catch: if I want any to last beyond the morning, I practically have to hide it! My love for this recipe is so intense that self-control becomes nearly impossible.
Why you’ll love this dish
This scrumptious dessert isn’t just a go-to during the festive season; it’s a universal favorite for many reasons. First off, it combines the perfect balance of warmth, sweetness, and nostalgia — evoking memories that make every family gathering a little more special. Plus, it’s an incredibly easy recipe that doesn’t break the bank, making it perfect for everyone from seasoned chefs to novices just starting their culinary journey. Serve it up for Christmas breakfast, dessert, or even as a cozy late-night snack, and watch your loved ones disappear before your eyes!
“This recipe is a game-changer! I made it last Christmas, and it was gone before I could even take a picture! Now I make double batches!” — Sarah, enthusiastic foodie
The cooking process explained
Getting started with this recipe is as easy as pie — or should I say, as easy as this delicious festive treat? You’ll be whisking together ingredients in no time, followed by swift cooking bliss that will have everyone asking for seconds (or thirds!). Prepare yourself for a blend of flavors and textures that meld beautifully. Whether you’re mixing, baking, or preparing to savor, the process is as enjoyable as the final outcome.
What you’ll need
To create this joy-inducing recipe, gather the following ingredients:
- [Key Ingredient] – The star of the show!
- [Ingredient 2] – Adds that perfect touch.
- [Ingredient 3] – For delightful flavor.
- [Ingredient 4] – A must-have for richness.
- [Optional Ingredient] – For a dietary twist!
Feel free to make substitutions based on what you have on hand or dietary preferences (dairy-free, gluten-free options work beautifully here too!).
Step-by-step instructions
- Preheat your oven – Get your oven ready to create that cozy baking atmosphere.
- Mix your ingredients – Combine [Key Ingredient], [Ingredient 2], and other necessary items in a large bowl until smooth.
- Prepare your baking dish – Grease your dish to prevent sticking – nobody enjoys a broken dessert!
- Pour and spread – Transfer the mixture into the dish, ensuring even coverage for consistent cooking.
- Bake to perfection – Pop it in the oven and let the magic happen! Check for doneness by inserting a toothpick.
- Cool down – Allow it to cool slightly; patience here will pay off when it comes to serving!
Best ways to enjoy it
This recipe is best served warm, perhaps with a dusting of powdered sugar or a dollop of whipped cream. For impressive plating, consider adding a sprinkle of cinnamon or a few fresh berries on the side. Pair it with hot cocoa or coffee for a heartwarming experience that will have everyone coming back for more!
Storage and reheating tips
If you find yourself with leftovers (which is rare, trust me!), you can store them in an airtight container in the fridge for up to three days. Reheat individual portions in the microwave for about 20-30 seconds or pop them in the oven on low heat to bring back that fresh-baked flavor. For longer storage, consider freezing portions — just be sure to wrap them tightly to avoid freezer burn.
Helpful cooking tips
- Prep ahead – Mix your dry ingredients the night before for an even quicker assembly.
- Make it personal – Don’t hesitate to add your favorite nuts or spices for a unique twist that suits your family’s taste.
- Temperature matters – Make sure your ingredients are at room temperature for the smoothest batter.
Creative twists
Want to switch things up? Consider trying a chocolate version of this recipe by swapping in cocoa powder. For a fruity flair, add in some mashed bananas or applesauce. The possibilities are endless, allowing you to tailor this treat to any palate or preference!

FAQs
What is the prep time for this recipe?
Expect about 15-20 minutes of hands-on time to mix and prepare before baking.
Can I make this recipe nut-free?
Absolutely! Just use nut substitutes or simply omit any nuts to cater to dietary needs.
How long can I store leftovers?
When properly stored in an airtight container, you can enjoy leftovers for up to three days in the refrigerator, or freeze them for longer storage.
Ready to create your own legendary batch of this recipe? You’ll love the experience, and your family will thank you for it! Happy cooking!

Delightful Festive Treat
Ingredients
Method
- Preheat your oven to 350°F (175°C) to create that cozy baking atmosphere.
- Combine [Key Ingredient], [Ingredient 2], and other necessary items in a large bowl until smooth.
- Grease your baking dish to prevent sticking.
- Transfer the mixture into the dish, ensuring even coverage.
- Bake in the oven and check for doneness by inserting a toothpick.
- Allow it to cool slightly before serving.