
Homemade Bone Broth: A Heartwarming Elixir of Comfort
When I first attempted to make Homemade Bone Broth, it was a chilly Sunday afternoon, and I craved something warm and nurturing. I rummaged through my kitchen, gathering leftover chicken bones from a roast I’d made earlier in the week. As I tossed them into my pot along with onions, carrots, and a sprinkle of herbs, I couldn’t shake the memories of my grandmother’s kitchen. I recalled the way it smelled when she simmered her pot of broth, filling the air with a heavenly aroma that felt like a hug. In that moment, I realized this simple act of boiling bones was so much more than just a recipe; it was a bridge to cherished memories, a way of connecting with the past, and a delightfully wholesome experience that unfolded in my tiny kitchen.
Flavor and Popularity
The Unique Flavor Profile of Homemade Bone Broth
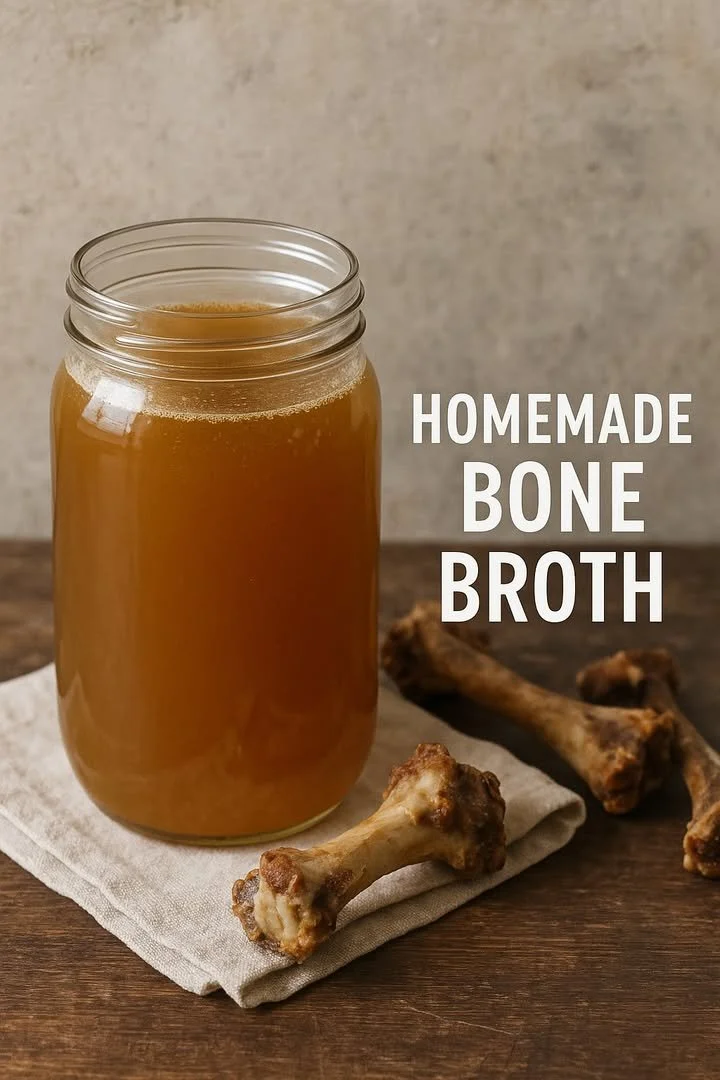
Homemade Bone Broth stands out in its rich, savory profile that can elevate countless dishes. Unlike store-bought versions, which often use additives and preservatives, homemade broth is crafted with love, allowing flavors to meld and deepen over hours of cooking. As you simmer, the bones release gelatin and amino acids, resulting in a silky texture and a body of umami—a flavor that is indescribably satisfying.
You’ll detect fragrant notes of roasted vegetables and herbs, giving the broth a complexity that is both soothing and invigorating. Each sip feels like a warm embrace, wrapping you in its comforting warmth. The earthy aroma of thyme, rosemary, or bay leaves wafts through your kitchen, reminding you that cooking is as much an olfactory experience as it is a culinary one.
Why This Recipe Is a Family Favorite and Crowd-Pleaser
There’s something inherently communal about Homemade Bone Broth. It’s a dish steeped in tradition—perfect for family gatherings and chilly nights. The beauty of broth is in its adaptability; it brings everyone together, whether it’s served as a simple drink, a base for soups, or a flavorful liquid for cooking grains.
I often share my broth with friends, encouraging them to sip it from mugs while huddled around a table. The moment they take that first slurp, their eyes widen, and they inevitably ask for the recipe. That’s when I feel a sense of pride, knowing I’ve introduced them to this nourishing treasure that has roots in so many cultures. In every bowl, there’s a story to be told—one of comfort, warmth, and love.
Ingredients and Preparation
Essential Ingredients and Possible Substitutions
To create a pot of Homemade Bone Broth, you’ll need a few key ingredients, but feel free to customize based on what you have on hand:
| Ingredient | Description | Possible Substitutions |
|—————————|———————————————————-|————————————|
| Bones | Roasted chicken, beef, or pork bones | You can use leftover bones or a mix of your favorites. |
| Water | The liquid base for the broth | Add filtered water to ensure purity. |
| Aromatic Vegetables | Onion, carrots, and celery | Leeks or shallots work well too. |
| Herbs | Bay leaves, thyme, and parsley | Dried herbs can be used in a pinch. |
| Acid | Apple cider vinegar or lemon juice | White wine vinegar is also an option. |
Step-by-Step Recipe Instructions with Tips
Prepare the Bones: If using raw bones, roast them at 400°F for 30-45 minutes until browned. This step caramelizes the bones, enhancing the flavor.
Gather Your Ingredients: In a large pot, add your roasted bones along with roughly chopped vegetables—2 onions, 2 carrots, and 2 celery stalks. Toss in bay leaves and herbs of your choosing.
Add Water: Pour in enough cold water to cover the ingredients by about an inch.
Incorporate Acid: Add a couple of tablespoons of apple cider vinegar to help leach minerals from the bones.
Bring to a Boil: This is the moment the magic starts! Bring the pot to a boil over medium-high heat.
Reduce to a Simmer: Once boiling, reduce to low heat and simmer gently for 12-24 hours. The longer, the better; this is when the flavors deepen.
Strain and Store: When ready, strain the broth into containers. Allow it to cool before refrigerating or freezing.
Season: Taste your broth and season with salt as desired before using or storing.
Tips for Perfecting Your Homemade Bone Broth
- Skim the fat: As the broth simmers, you’ll notice some fat collecting on the surface. Skim this off for a clearer broth.
- Additional flavor: Consider adding garlic, ginger, or even mushrooms to add complexity.
- Cool quickly: If you’re storing broth, cool it in an ice bath (place the pot in a larger bowl filled with ice and water) to keep it fresh.
Cooking Techniques and Tips
How to Cook Homemade Bone Broth Perfectly
Cooking a great broth might take time, but the reward is worth it. Here are some tips:
- Simmer, Don’t Boil: Keep the heat low to avoid cloudiness. A gentle simmer extracts the essence without becoming murky.
- Frequent Tasting: Occasionally taste the broth during cooking to check if it needs more seasoning or depth.
- Use Quality Ingredients: Always opt for high-quality bones, preferably grass-fed or organic, as they provide better flavor and nutrients.
Common Mistakes to Avoid
- Skipping Roasting: Never skip the roasting step unless you prefer a lighter flavor. Roasting is what makes your broth truly special!
- Short Cooking Time: Simmer for at least 12 hours to extract maximum nutrients and flavor; don’t rush the process.
- Not Enough Vegetables: Skip the underlying aromatic layer, and you miss out on savory depth that elevates your broth.
Health Benefits and Serving Suggestions
Nutritional Value of Homemade Bone Broth
Having a cup of Homemade Bone Broth is like nourishing your body from the inside out. It’s rich in collagen, gelatins that support joint health, and vitamins that can enhance your immune system. Additionally, it contains minerals like calcium and magnesium, essential for bone health.
As it’s packed with nutrients, broth can be soothing for the gut and supportive of a well-balanced diet. It’s a staple for those looking to maintain optimal health or recover from illness, helping to reduce inflammation and promote overall wellness.
Best Ways to Serve and Pair This Dish
There are infinite ways to enjoy Homemade Bone Broth:
- As a Drink: Simply sip it warm, seasoned with a dash of salt or a sprinkle of your favorite herbs.
- In Soups: Use it as the base for hearty soups—add noodles, vegetables, and protein of your choice.
- With Grains: Cook rice, quinoa, or lentils in broth for an added depth of flavor that will impress your palate.
- For Sauces: Use it to deglaze pans or as a foundation for gravies and sauces.
FAQ Section
What type of mushrooms are best for Homemade Bone Broth?
While any variety can enhance broth, shiitake and porcini mushrooms add a deep, earthy flavor. Dried mushrooms are especially potent and can bring a delicious umami richness to your recipe.
Can I use dried garlic instead of fresh?
Absolutely! Dried garlic is a great substitute. Remember, it’s more concentrated, so use less compared to fresh garlic—about 1 teaspoon of dried for every clove of fresh garlic.
How do I store leftover Homemade Bone Broth?
Once cooled, transfer any leftover broth into airtight containers. Store it in the fridge for up to five days or in the freezer for several months.
Can I freeze Homemade Bone Broth?
Yes, freezing is a fantastic option! Pour the broth into ice cube trays or freezer-safe containers. This allows you to thaw just what you need without defrosting the entire batch.
Conclusion
If you’re like me, you’ll find that making Homemade Bone Broth is a meditation in both cooking and nostalgia. There’s something comforting about the process—the gentle bubbling sounds, the enticing aromas wafting through your home, and the knowledge that you’re creating something nourishing and lovely. Trust me, you’ll want to make this again and again, experimenting with new ingredients and flavors as you go. So grab those bones, lean into the process, and enjoy the warmth of your own homemade elixir. Let’s create magic in the kitchen together!
