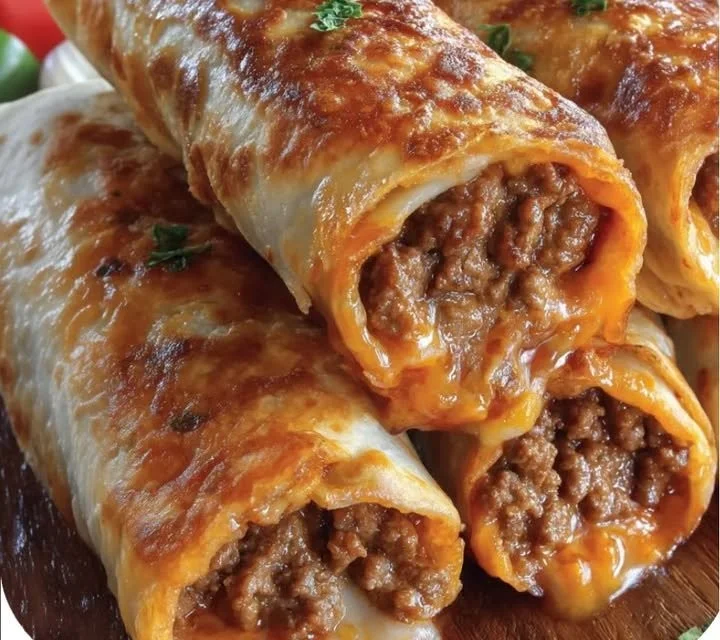
Crispy Beef & Cheese Chimichangas
Introduction
Crispy Beef & Cheese Chimichangas are a delicious Mexican dish that combines savory flavors with a satisfying crunch. With seasoned ground beef, melted cheese, and crispy fried tortillas, they make a great meal or snack for any occasion.
Why Make This Recipe
This recipe is perfect for anyone looking to enjoy a hearty and flavorful dish. It is simple to prepare and can be made quickly for a weeknight dinner or a fun gathering with friends. The combination of beef and cheese inside a crispy tortilla is always a crowd-pleaser. Plus, you can customize it with toppings like salsa, guacamole, or sour cream!
How to Make Crispy Beef & Cheese Chimichangas
Ingredients
- 1 lb lean ground beef
- 1 cup shredded sharp cheddar cheese
- 1 onion, chopped
- 4 flour tortillas
- 1 tsp garlic powder
- 1 tsp cumin
- Salt and pepper to taste
- Oil for frying
Directions
- In a skillet, brown the ground beef with the chopped onion until fully cooked. Drain excess fat.
- Add garlic powder, cumin, salt, and pepper, mixing well.
- Remove from heat and stir in the shredded cheese.
- Fill each tortilla with a portion of the beef mixture, fold in the sides, and roll up tightly.
- Heat oil in a deep frying pan over medium heat.
- Fry the chimichangas until golden brown and crispy on all sides.
- Drain on paper towels and serve hot.
How to Serve Crispy Beef & Cheese Chimichangas
Serve your crispy chimichangas hot, with your favorite toppings. They go well with salsa, guacamole, or sour cream. You can also serve them with a side of rice or beans for a complete meal.
How to Store Crispy Beef & Cheese Chimichangas
If you have leftovers, store them in an airtight container in the refrigerator. They will last for about 2-3 days. To reheat, you can bake them in the oven to keep them crispy, or microwave them, though they may not be as crunchy.
Tips to Make Crispy Beef & Cheese Chimichangas
- Use lean ground beef to reduce grease and fat in the chimichangas.
- Make sure your oil is hot enough before frying to get a nice golden color.
- Don’t overfill the tortillas to prevent them from breaking.
- For extra flavor, you can add diced jalapeños or bell peppers to the beef mixture.
Variation
You can try different variations of this recipe by using ground chicken or turkey instead of beef, or by adding beans for extra texture. You can also experiment with different types of cheese, like Monterey Jack or pepper jack, for a unique twist.
FAQs
1. Can I bake the chimichangas instead of frying them?
Yes, you can bake them! Brush them with oil and place them on a baking sheet. Bake at 375°F (190°C) for about 20-25 minutes until golden brown.
2. Can I freeze the chimichangas?
Yes, you can freeze uncooked chimichangas. Just wrap them tightly in plastic wrap and then in foil before freezing. When ready to cook, fry them from frozen or bake them.
3. What can I serve with chimichangas?
They pair well with a variety of sides such as Mexican rice, refried beans, or a fresh salad. You can also add toppings such as lettuce, diced tomatoes, or cilantro for freshness.

