
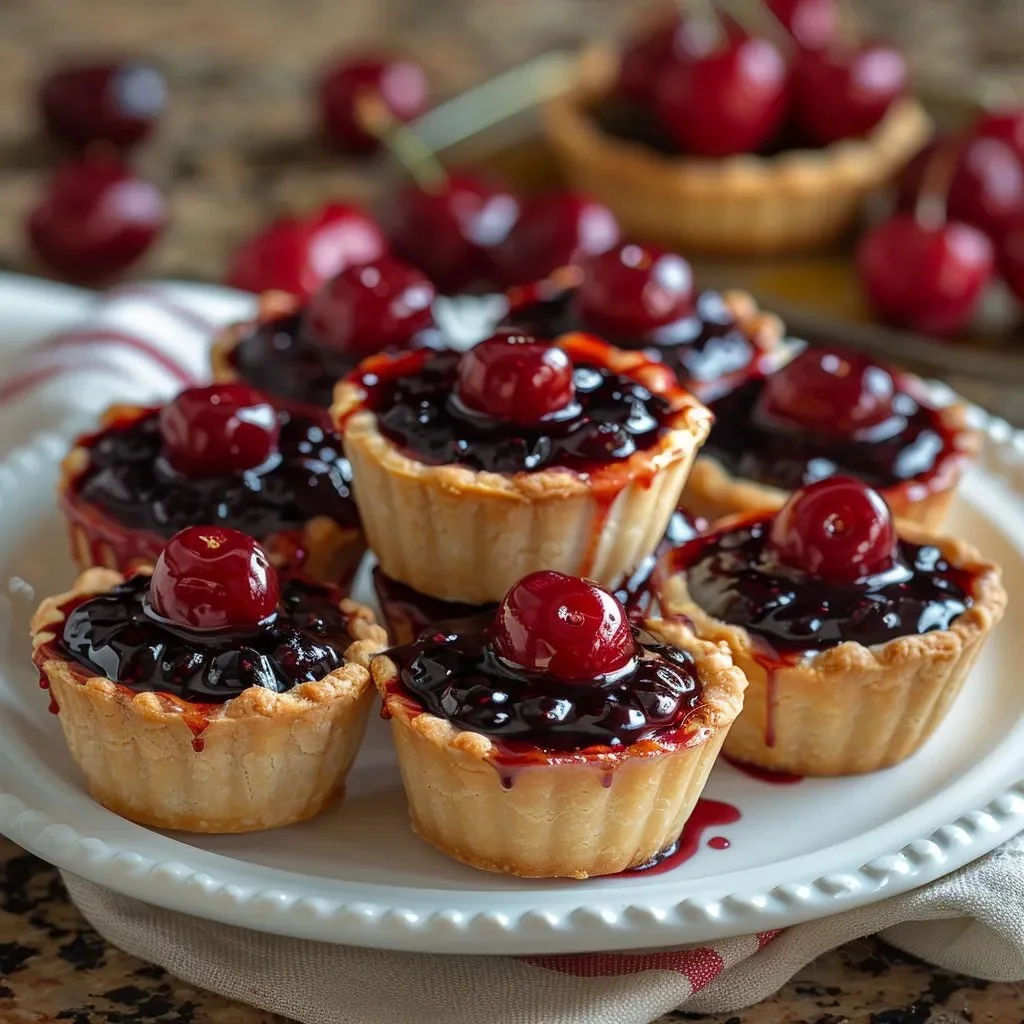
Easy Mini Cherry Pies: Authentic Flavors in Every Bite
If you are in the mood for a sweet treat, Easy Mini Cherry Pies are just the ticket! These delightful little desserts are filled with juicy cherry pie filling and wrapped in a flaky, buttery crust. Perfect for parties, picnics, or just a cozy night at home, these mini pies are sure to please everyone.
Why Make This Recipe
Making Easy Mini Cherry Pies is a great way to enjoy the wonderful flavors of cherry pie without the hassle of a large dessert. They are quick to prepare, easy to bake, and make for a charming and individual dessert that everyone will love. Plus, they are perfect for sharing or enjoying on your own!
How to Make Easy Mini Cherry Pies
Ingredients:
- 2 cups all-purpose flour
- 1/2 teaspoon salt
- 1 tablespoon granulated sugar
- 1/2 cup unsalted butter, chilled and cubed
- 1/4 cup ice water
- 1 can (21 oz) cherry pie filling
- 1 egg, beaten (for egg wash)
- Powdered sugar, for dusting (optional)
Directions:
- Start by making the pie crust, which is a simple process. In a mixing bowl, combine flour, salt, and sugar.
- Add the chilled, cubed butter and mix until the mixture resembles coarse crumbs.
- Gradually pour in the ice water, mixing until the dough comes together. Don’t overwork it!
- Divide the dough into two balls, flatten them into disks, wrap in plastic wrap, and refrigerate for at least 30 minutes.
- Once chilled, flour your work surface and roll out one disk at a time to about 1/8 inch thick. Use a round cutter or a glass to cut out circles—aim for about 4 inches in diameter.
- Place a spoonful of cherry pie filling in the center of half of the dough circles. Be careful not to overflow them!
- Top with another dough circle, and press the edges to seal. You can use a fork to crimp the edges for a decorative touch. Remember to cut a few slits in the top crust to allow steam to escape during baking.
- Brush the tops with a beaten egg for a golden finish. This step adds a lovely shine to your mini pies.
- Preheat your oven to 375°F (190°C). Line a baking sheet with parchment paper, arrange your mini pies, and bake for 20-25 minutes or until golden brown.
- Remove from the oven and let these little beauties cool for a bit. Dust with powdered sugar before serving if you want to add a touch of sweetness!
How to Serve Easy Mini Cherry Pies
These mini cherry pies look great served warm, and they can be enjoyed on their own or with a scoop of vanilla ice cream on the side. They are perfect for dessert at a family gathering or as a sweet snack any time of day!
How to Store Easy Mini Cherry Pies
Store any leftovers in an airtight container at room temperature for up to 3 days. If you want to keep them longer, you can refrigerate them for up to a week. To reheat, just pop them in the oven for a few minutes until warmed through.
Tips to Make Easy Mini Cherry Pies
- Make sure your butter is very cold; it helps create a flaky crust.
- Don’t skip the chilling step for the dough! It makes it easier to roll out and helps the crust hold its shape.
- Experiment with different fillings, such as apple, blueberry, or peach, for a fun twist!
Variation
You can sprinkle a bit of cinnamon or nutmeg into the cherry filling for added flavor. If you are feeling adventurous, try a crumb topping instead of a top pie crust for a different texture.
FAQs
1. Can I use fresh cherries instead of canned pie filling?
Yes! You can make your own cherry filling with fresh cherries, sugar, and a bit of cornstarch to thicken it.
2. How long do I need to bake the mini pies?
Bake them for 20-25 minutes at 375°F (190°C), or until they are golden brown.
3. Can I freeze the mini pies?
Absolutely! You can freeze them before baking. Just place them on a baking sheet until frozen, then transfer them to a freezer-safe bag. When you’re ready to bake, just add a few extra minutes to the baking time.
Enjoy making your Easy Mini Cherry Pies and share the deliciousness with friends and family!
