
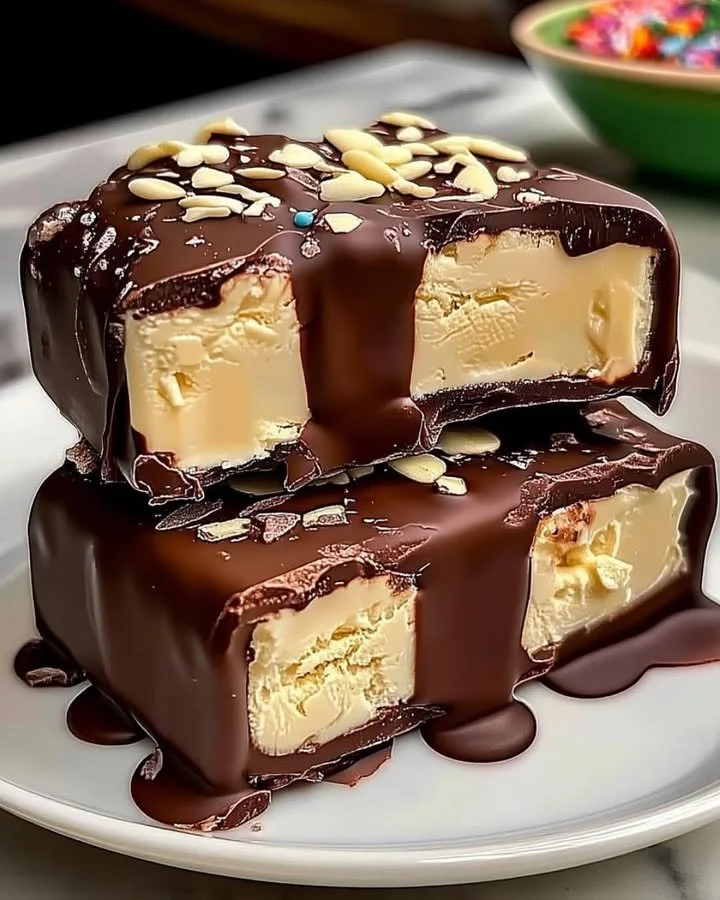
Homemade Chocolate-Covered Ice Cream Bars
Homemade Chocolate-Covered Ice Cream Bars are a delicious treat that brings joy to all ages. With a creamy ice cream center and a crunchy chocolate coating, these bars are perfect for hot summer days or any time you crave something sweet. Making them at home is fun and simple, and you get to choose your favorite flavors and toppings!
Why Make This Recipe
Making your own chocolate-covered ice cream bars is a great way to satisfy your sweet tooth. Not only are they easy to prepare, but you also have control over the ingredients. You can choose your favorite ice cream flavor, type of chocolate, and even customize the toppings. Plus, they are perfect for sharing with family and friends or enjoying by yourself!
How to Make Homemade Chocolate-Covered Ice Cream Bars
Ingredients:
- Vanilla ice cream (or any flavor you prefer)
- Melting chocolate (milk, dark, or white)
- Crushed nuts
- Crushed cookies
- Sprinkles
- Popsicle sticks
Directions:
Prepare the Ice Cream: Scoop the vanilla ice cream into a rectangular dish or silicone mold, pressing it down to create an even layer. Insert popsicle sticks into the ice cream and freeze for at least 4 hours, or until solid.
Melt the Chocolate: In a microwave-safe bowl, melt the chocolate according to package instructions, stirring until smooth.
Coat the Ice Cream Bars: Once the ice cream is fully frozen, remove it from the freezer. Carefully cut the ice cream into bars or remove them from the mold. Dip each bar into the melted chocolate, allowing any excess to drip off.
Add Toppings: While the chocolate is still wet, sprinkle the crushed nuts, crushed cookies, or sprinkles over the bars for added texture and flavor.
Freeze Again: Place the coated bars back on a parchment-lined baking sheet and return them to the freezer for about 30 minutes to set the chocolate.
Serve and Enjoy: Once the chocolate has hardened, your homemade chocolate-covered ice cream bars are ready to enjoy! Serve them as a refreshing dessert or snack.
How to Serve Homemade Chocolate-Covered Ice Cream Bars
Serve these tasty ice cream bars straight from the freezer. You can place them on a plate and enjoy them as a dessert after dinner or serve them at parties and gatherings. They are great for kids and adults alike and can be enjoyed any time of the day!
How to Store Homemade Chocolate-Covered Ice Cream Bars
To store your chocolate-covered ice cream bars, keep them in an airtight container in the freezer. They will stay fresh for up to two weeks. Just make sure to separate the bars with parchment paper to prevent them from sticking together.
Tips to Make Homemade Chocolate-Covered Ice Cream Bars
- For a smoother chocolate coating, you can add a little vegetable oil to the melting chocolate.
- Be creative with your toppings! You can use mini marshmallows, shredded coconut, or even candy pieces.
- Experiment with different ice cream flavors to find your perfect combination.
- If you want thicker chocolate, let the first layer set, and then dip again for a second layer!
Variation
Feel free to mix things up! Instead of using vanilla ice cream, try fruit-flavored ice creams like strawberry or mango. Also, you can use different types of chocolate like dark chocolate for a richer taste.
FAQs
1. Can I use homemade ice cream for this recipe?
Yes! You can use any ice cream you make at home, just make sure it’s firm and frozen solid before coating it with chocolate.
2. How long do these ice cream bars take to make?
While the active time is short, you need to freeze the ice cream for at least 4 hours and set the chocolate for another 30 minutes, so plan accordingly.
3. Can I use nuts if someone has a nut allergy?
Absolutely! You can skip the nuts and use other toppings instead, like crushed cookies or sprinkles, to keep them nut-free.
